SMED and Changeover Reduction
Modernizing SMED: How Control Automation Shrinks Changeover Downtime
In the modern manufacturing landscape, the pressure on production facilities to deliver high-mix, low-volume orders has never been greater. The days of running a single product SKU continuously for three weeks are largely gone. Today, consumer goods, food and beverage, and pharmaceutical plants are required to execute multiple product changeovers every day.
This operational reality makes changeover time the ultimate battleground for plant capacity. If a line requires three hours to convert from one bottle size to another, running three changeovers in a week burns an entire eight-hour production shift in pure downtime.
To combat this, manufacturers have long relied on SMED (Single-Minute Exchange of Die), the classic lean methodology developed by Shigeo Shingo designed to reduce changeover times to single digits (under 10 minutes). However, many plants hit a wall with traditional SMED. They tape outlines on the floor, organize tool carts, and conduct time-and-motion studies, yet changeovers continue to drag on, blow past target schedules, and generate significant scrap during startup.
The reason traditional SMED plateaus is simple: it treats changeovers as an exclusively manual, human process. In a modern automated plant, mechanical adjustments, recipe management, and startup stabilization are deeply intertwined with the control system.
Here is how modern facilities fail during product changeovers, and how integrating automation, advanced PLC recipe management, and SCADA tools can modernize SMED to cut your transition times in half.
Mistake #1: Manual Setpoint Adjustments and Operator "Tweaking"
Why it happens: When changing over a machine—such as an automated cartoner, labeler, or filler—operators must adjust dozens of operating parameters: conveyor speeds, heat sealer temperatures, timing offsets, sensor blind times, and pneumatic dwell times. In poorly integrated facilities, operators walk up to multiple individual HMI panels, variable frequency drive (VFD) keypads, and temperature controllers, manually typing in values from a laminated cheat sheet kept in a desk drawer.
What it costs: Manual data entry is slow and vulnerable to human error. A single typo—setting a sealer temperature to 250°F instead of 350°F, or entering a conveyor speed as 45 Hz instead of 55 Hz—guarantees poor machine performance.
Furthermore, different operators have different personal "preferences," leading them to subtly tweak setpoints away from engineering standards. The result is an extended, unpredictable changeover window where the first hour of production is wasted fighting machine instability.
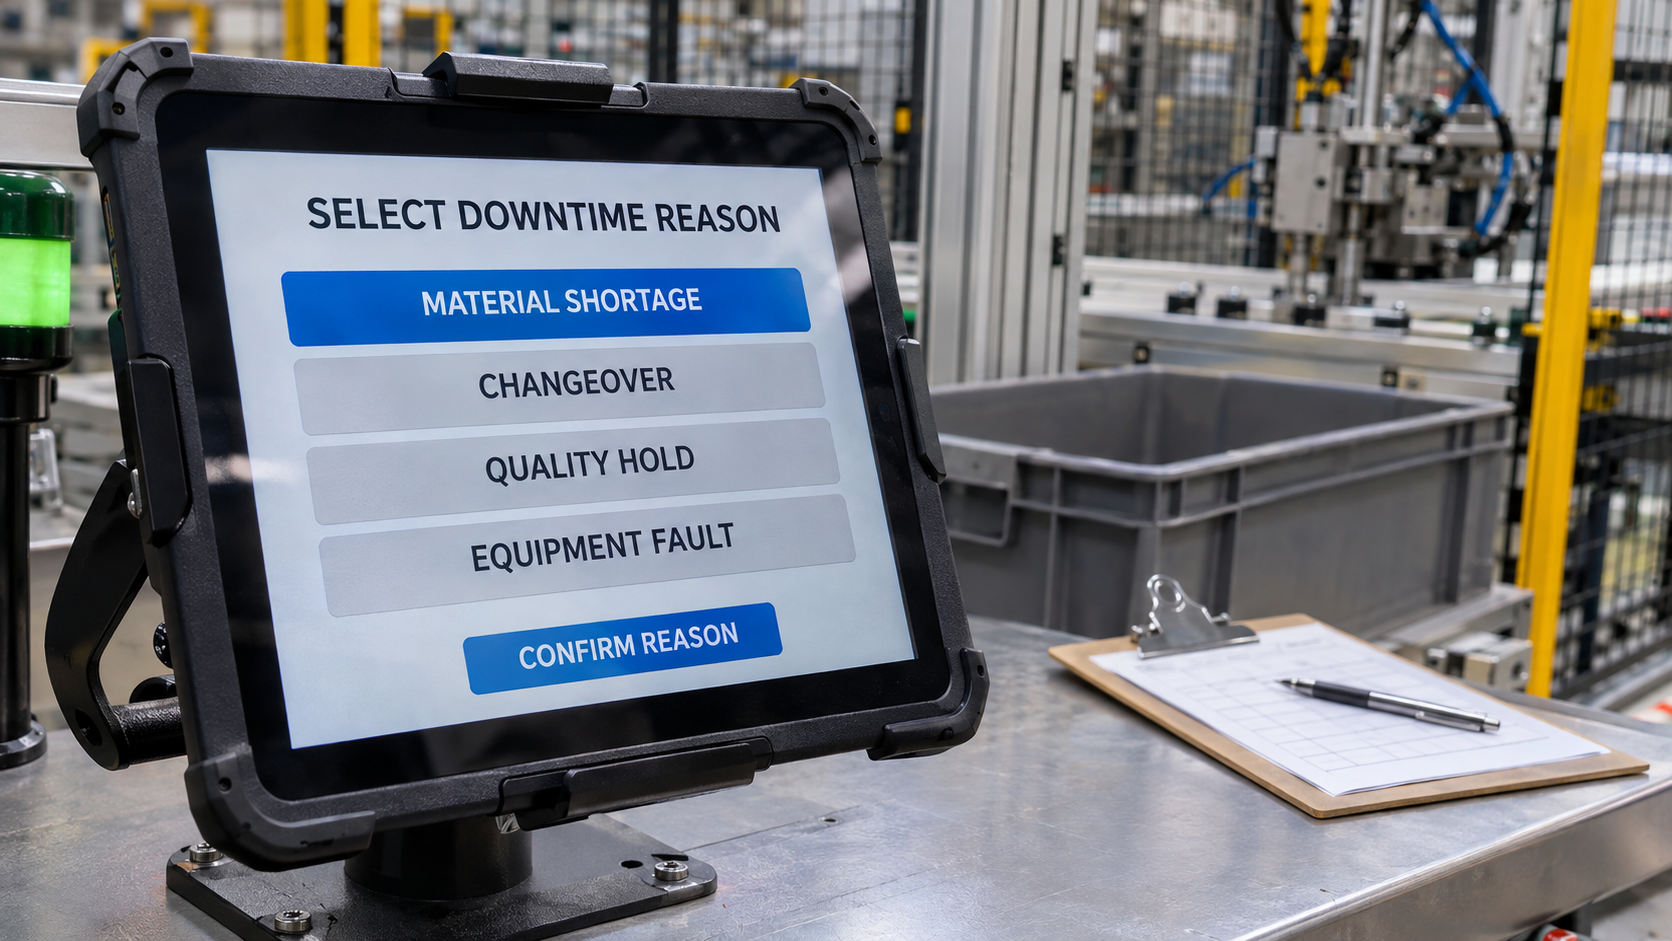
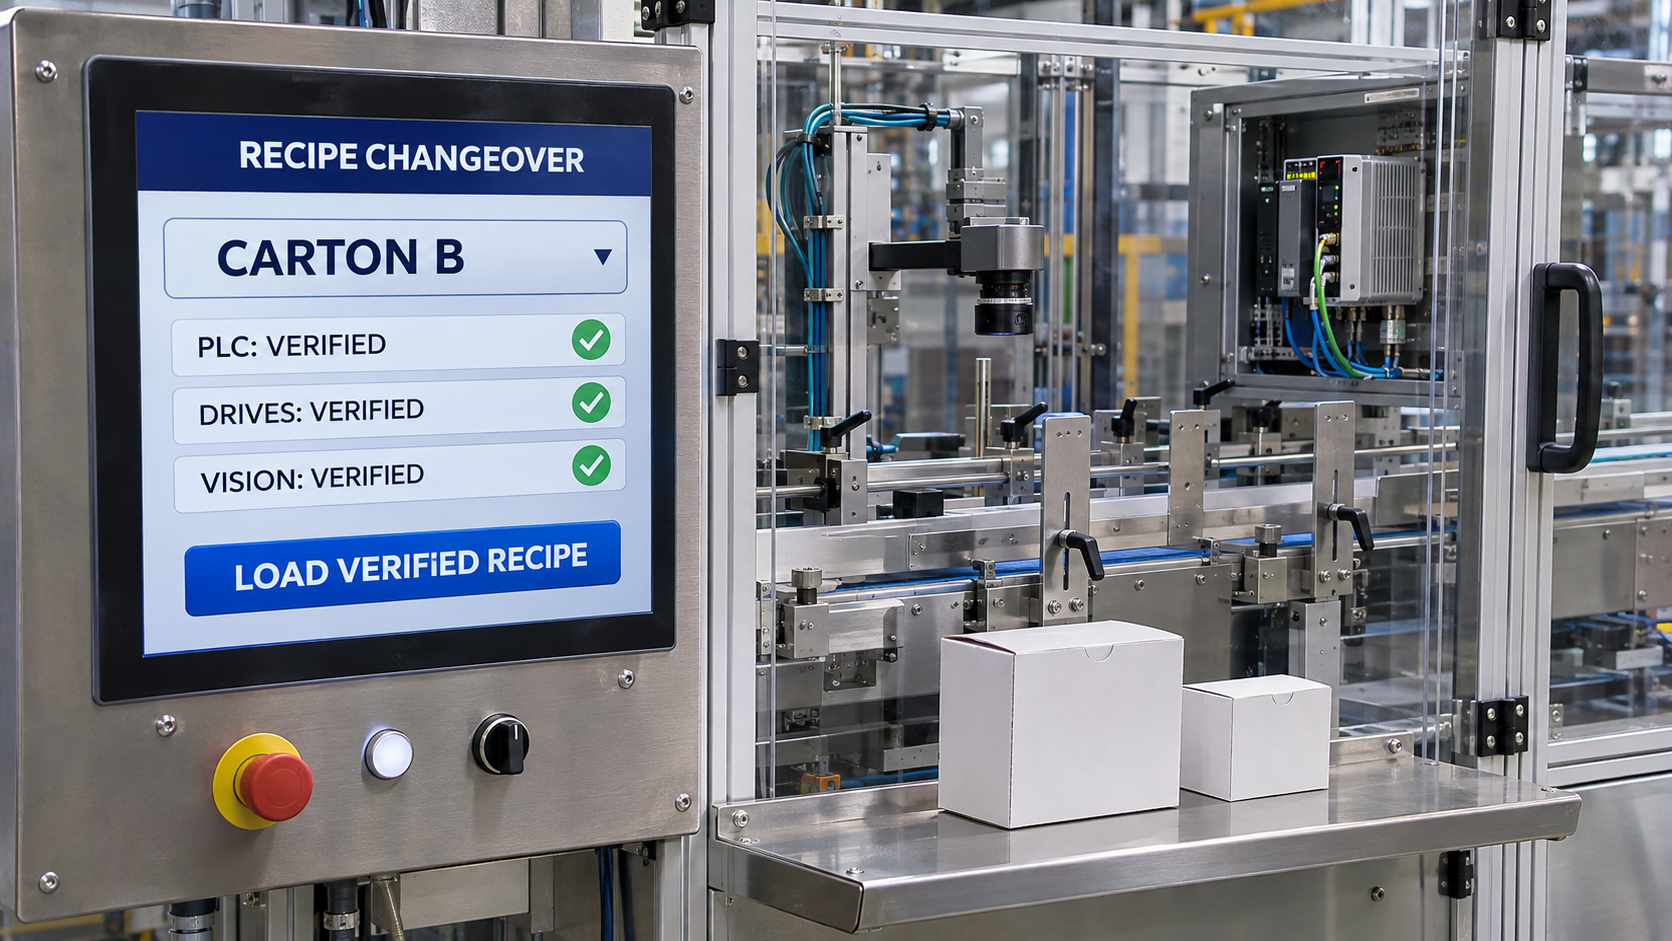
The fix: Centralize recipe management inside your SCADA and PLC architecture. With a single press of a button on the master line HMI, the control system should download hundreds of verified, pre-validated parameters down to every PLC, servo drive, vision camera, and field instrument simultaneously.
Empowered Automation builds centralized recipe engines that eliminate manual parameter entry, lock unauthorized setpoint modifications behind role-based security, and verify that all field devices have accepted their target parameters before permitting the line to start.
Mistake #2: Failing to Automate the Separation of "Internal" vs. "External" Setup
Why it happens: The foundational principle of SMED is dividing changeover tasks into two strict buckets:
- External Setup: Tasks that can be performed while the machine is actively running (e.g., retrieving raw materials, staging tooling, pre-heating glue systems).
- Internal Setup: Tasks that can only be performed when the machine is stopped (e.g., physically swapping starwheels, changing cutting dies).
Plants fail because they leave this coordination entirely to human discipline without automation support.
What it costs: Machines sit idle while operators search the warehouse for tooling, wait for hot-melt glue tanks to come up to operating temperature, or hunt for replacement rolls of film. These are external tasks that should have occurred while the previous batch was finishing. Every minute a machine sits waiting for materials or heating cycles is pure, unrecoverable downtime.
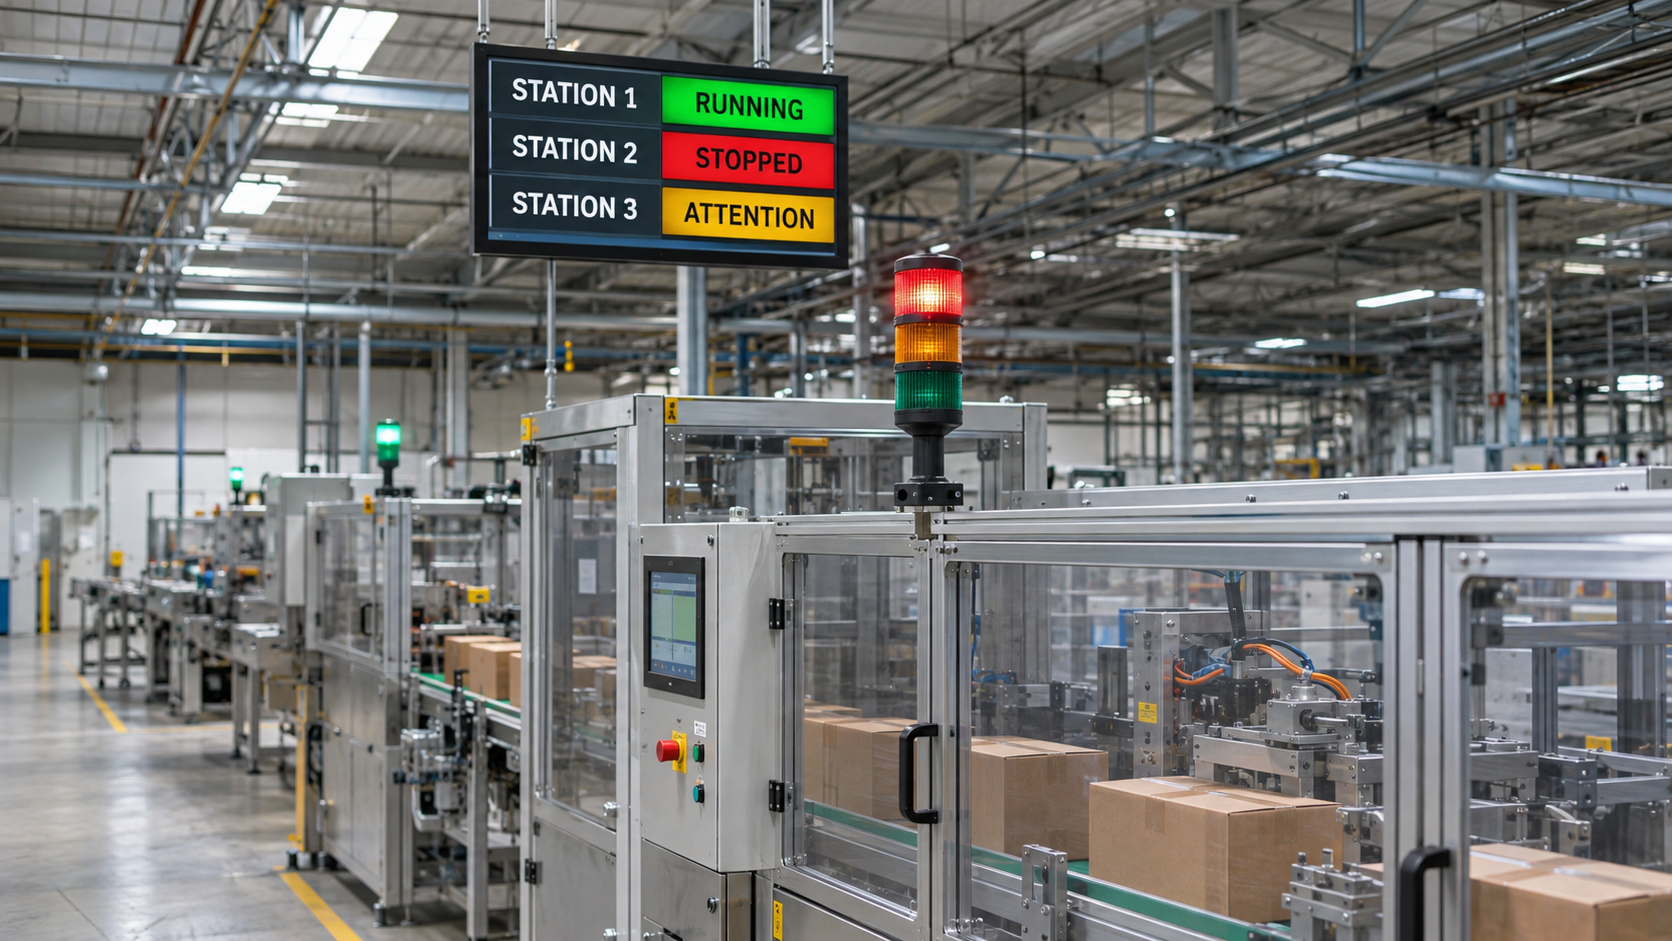
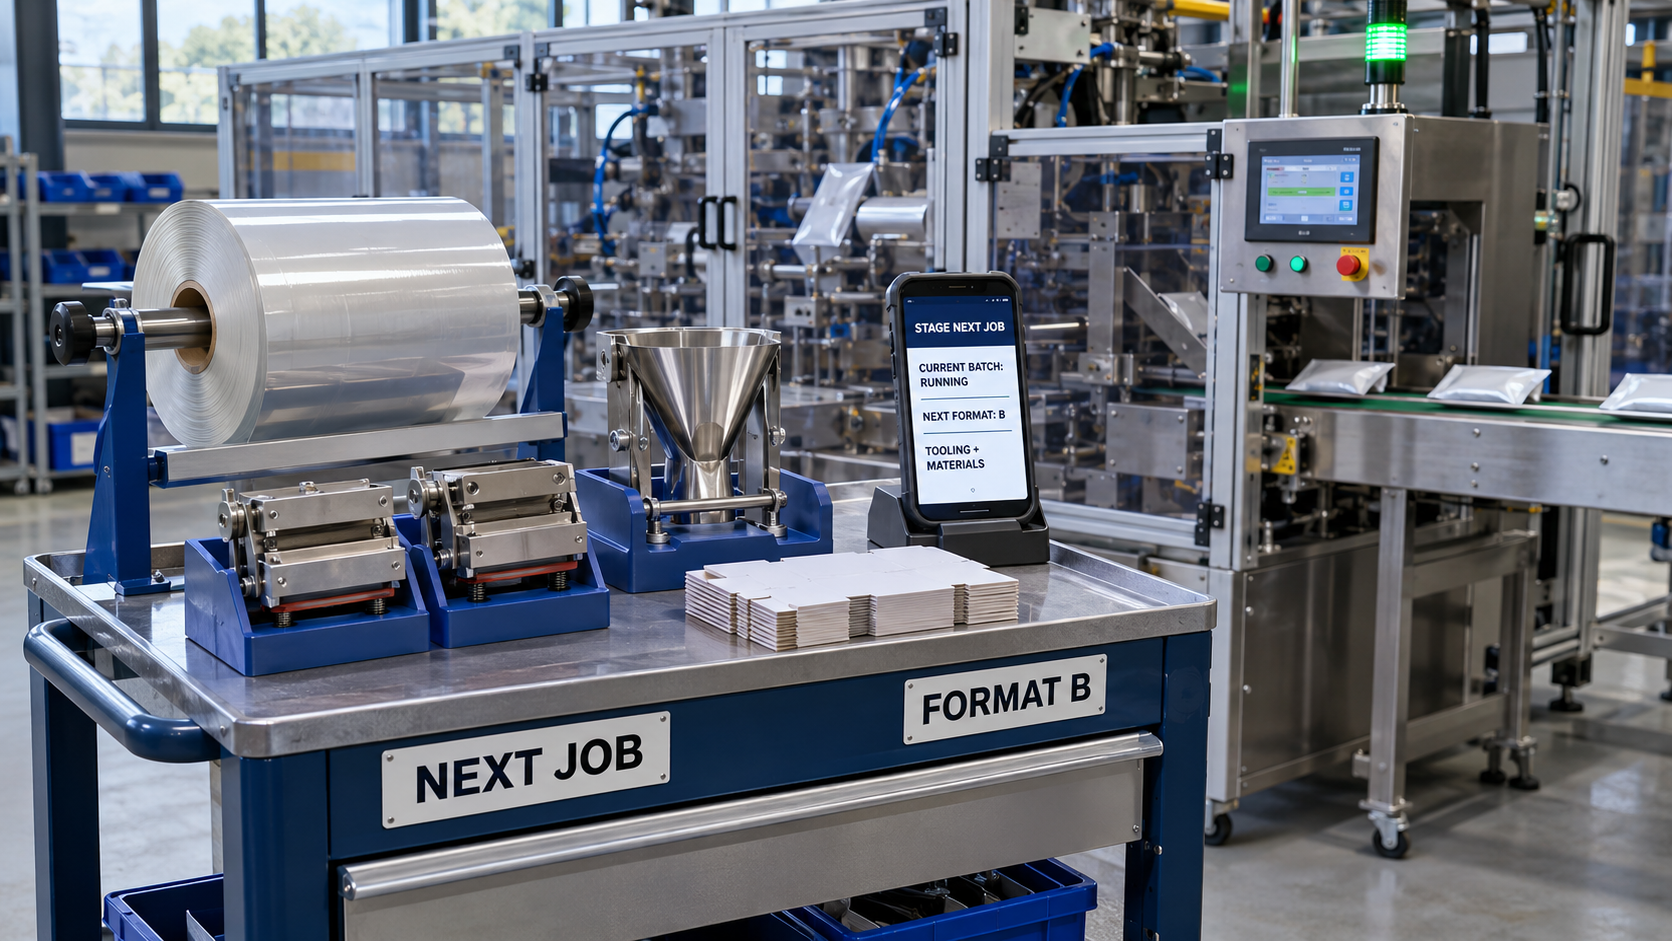
The fix: Build changeover staging workflows into your SCADA and Alarm Notification systems. Ten minutes before a production batch reaches completion, the SCADA platform should automatically trigger alerts to material handlers and operators via mobile devices or stack lights, notifying them to stage the upcoming recipe’s raw materials at the infeed.
Simultaneously, the control system should automatically initiate pre-heating cycles on sealers or glue units for the upcoming SKU while the current run is winding down, ensuring internal downtime is strictly reserved for physical mechanical transitions.
Mistake #3: Relying on Manual Hand Cranks and Tape Measures for Mechanical Positioning
Why it happens: Adjusting guide rails, infeed widths, and overhead sensor heights between different product dimensions is traditionally done using manual hand cranks, threaded rods, and visual ruler scales taped to the machine frame.
What it costs: Manual mechanical adjustments lack repeatable precision. An operator might adjust a rail to what looks like "3.5 inches" on a worn ruler, but is actually an eighth of an inch too tight. When product enters the line, it jams immediately.
The maintenance technician spends the next 45 minutes loosening bolts, tapping rails with a dead-blow hammer, running three test containers, and repeating the process. This "adjust-test-jam-readjust" cycle often takes twice as long as the physical changeover itself.
The fix: Transition to automated positioning systems and digital verification. Modern automation architectures utilize compact, network-connected stepper motors or smart servo actuators tied to the PLC recipe system. When the operator selects the new product SKU on the HMI, the guide rails, photo-eyes, and overhead hold-downs automatically motorize to their exact micron-accurate positions in seconds.
For plants not ready for full servo-driven positioning, install digital position indicators with bus communication (e.g., IO-Link). The indicator lights up red until the operator cranks the rail to the exact recipe coordinate, turning green only when the physical position matches the PLC setpoint, preventing startup jams entirely.
Mistake #4: The "Ramp-Up Penalty" and Inconsistent Startup Stabilization
Why it happens: The physical swap is finished, the guards are closed, and the line is turned on. However, the machine does not immediately run at full rated speed. Operators run the line at half-speed for 30 minutes, watching nervously for misalignments, clearing occasional jams, and throwing away out-of-spec product until the line settles into a steady state.
What it costs: This "ramp-up penalty" represents a major loss in both Performance and Quality on your OEE calculation. If your changeover target is 20 minutes, but you spend an additional 40 minutes nursing the line back up to full operational velocity, your true changeover downtime is an hour.
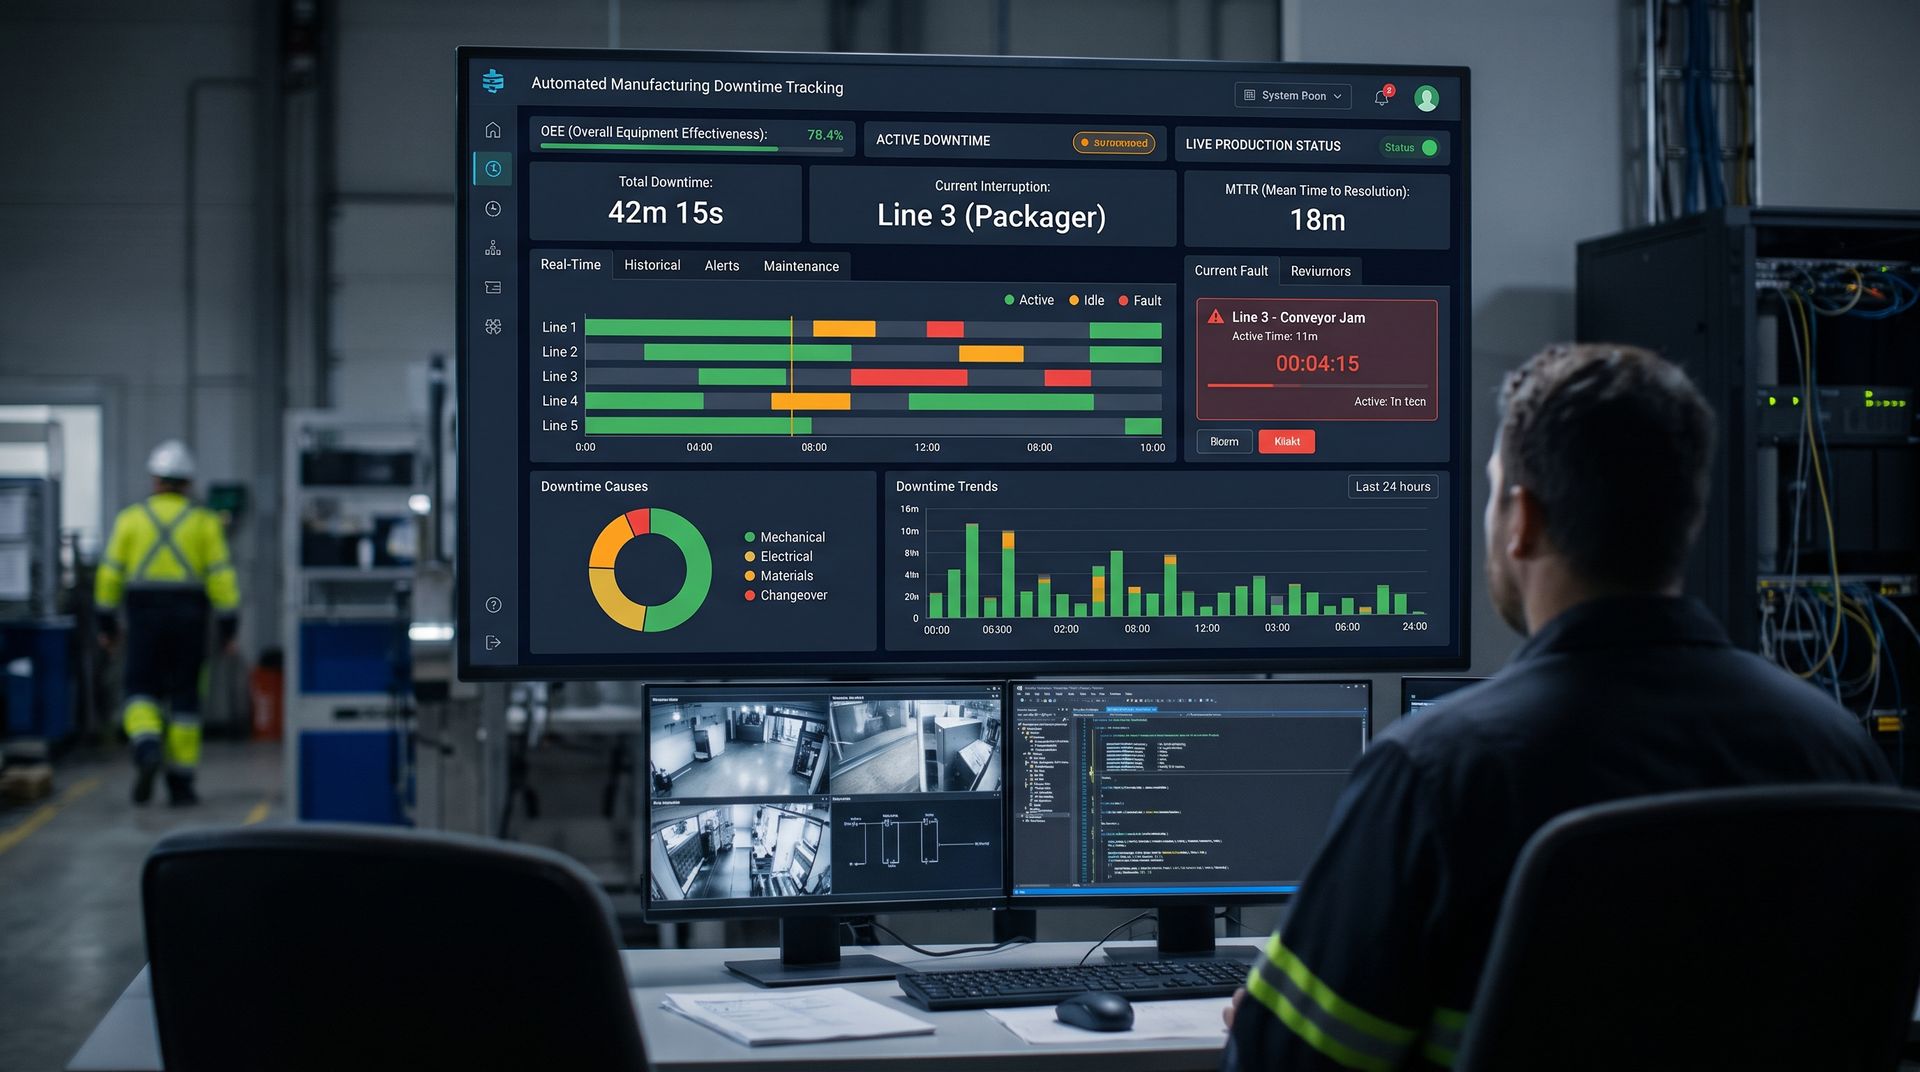
The fix: Treat the startup phase as an engineered, measurable state in your control logic. By using high-resolution data historians, engineers can track the exact timeline from "First Container Infeed" to "Full Rated Speed."
Analyze the variables that fluctuate during ramp-up: are hot-melt glue temperatures dropping due to continuous flow? Is web tension hunting on the unwind stand? By identifying the physical variables causing startup instability, controls engineers can tune PID loops, adjust feed-forward algorithms, and automate ramp-up velocity profiles inside the PLC, enabling the line to accelerate safely to maximum speed within seconds of restart.
The Modern Automated SMED Workflow
By integrating modern control automation, the traditional SMED framework transforms from a manual exercise into a synchronized, semi-autonomous process:
[ Phase 1: Pre-Changeover (Machine Running) ]
• SCADA detects batch nearing completion.
• Alerts sent to material handlers to stage next SKU tooling and raw materials.
• Pre-heating and auxiliary systems for next recipe automatically initiated.
│
▼
[ Phase 2: Physical Conversion (Machine Stopped) ]
• Operator confirms changeover mode on HMI.
• Motorized actuators drive guide rails and sensors to exact recipe coordinates.
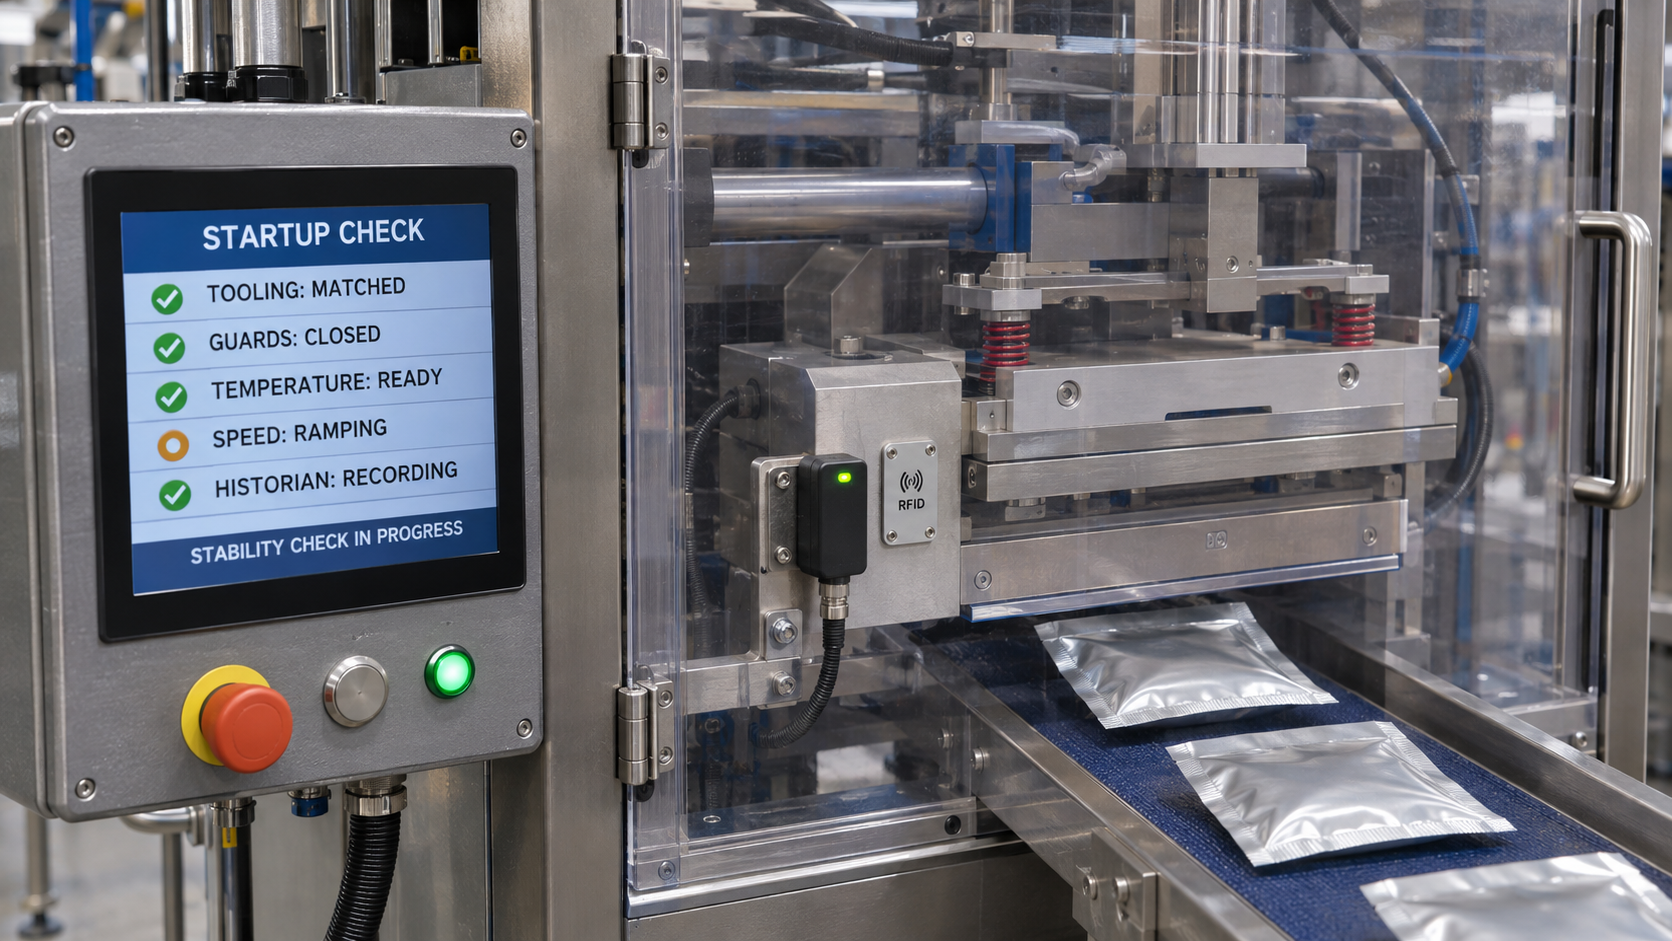
• RFID tooling verification confirms correct starwheels/dies are mechanically installed.
│
▼
[ Phase 3: Automated Parameter Deployment ]
• Single-button recipe download from SCADA to PLCs, VFDs, and Vision Systems.
• Automated pre-flight check validates all interlocks, drives, and temperatures.
│
▼
[ Phase 4: Validated Rapid Ramp-Up ]
• Controlled, automated acceleration curve to full rated speed.
• Data Historian monitors real-time cycle-to-cycle stability, catching deviations instantly.
SMED & Changeover Automation Audit Checklist
Assess your facility’s changeover maturity against these automation-driven criteria:
- [ ] Centralized Recipes: Can operators push all operating parameters (speeds, temps, timers) to all line PLCs and drives via a single HMI command?
- [ ] Automated Staging Alerts: Does your SCADA system automatically alert support crews to stage tooling and materials before the current batch ends?
- [ ] Digital Position Verification: Are mechanical adjustments guided by smart digital indicators or automated motorized positioning actuators?
- [ ] Tooling Verification: Does your control system utilize RFID or sensor interlocks to verify that the correct mechanical parts (dies, starwheels) are installed before starting?
- [ ] Ramp-Up Telemetry: Does your data historian track the precise time and scrap generated between machine restart and steady-state rated speed?
Conclusion
Lean manufacturing established the principles of SMED, but modern control automation delivers its full potential. Taping tool outlines on the floor and timing operators with stopwatches will only take your plant so far.
To break through the single-digit changeover barrier, plants must eliminate manual parameter entry, automate physical adjustments, coordinate material staging through real-time SCADA notifications, and engineer the startup phase for rapid stabilization. When your automation architecture actively drives the changeover process, you transform downtime into production capacity, unlocking the flexibility required to win in today’s high-mix manufacturing environment.
Ready to Cut Your Changeover Times in Half?
Empowered Automation Solutions helps manufacturers modernize their changeover workflows through intelligent control systems. Our systems integration team designs and deploys centralized recipe management architectures, automated servo-positioning integration, HMI/SCADA workflow guidance, and high-performance Data Historians that turn long, chaotic changeovers into fast, repeatable transitions.
Contact our engineering team to discuss your changeover and automation goals:
- Phone: (630) 553-0411
- Email: info@empoweredautomation.com
- Address: 1905 Marketview Dr., Suite 138, Yorkville, IL 60560
Frequently Asked Questions
How does automated recipe management prevent changeover errors?
In an automated recipe setup, verified operational parameters (speeds, temperatures, timing delays, servo setpoints) are stored in a secure, centralized database rather than typed by hand. When an SKU is selected, the SCADA system pushes those values directly to the machine controllers over Ethernet/IP or Profinet, completely eliminating human typos, unauthorized parameter adjustments, and mismatched machine settings.
Can we automate guide rail adjustments on older machines without replacing them?
Yes. You do not need to purchase an entirely new machine to modernize rail adjustments. Empowered Automation retrofits legacy machines with networked positioning units (such as IO-Link digital position indicators or compact bus-controlled stepper actuators) that mount directly onto existing adjustment shafts. This provides digital, recipe-driven positioning at a fraction of the cost of new equipment.
What is the difference between Changeover Time and Setup Time?
Changeover time is the total elapsed time from the last good part of the previous product run to the first consistently good part produced of the subsequent product run at full rated speed. Setup time is simply the physical mechanical swap of parts. Focusing strictly on setup time ignores the ramp-up phase and parameter tweaking that frequently consumes the majority of lost capacity.
How does RFID integration assist in SMED?
Physical changeover parts (like custom starwheels, packaging formers, or sealing jaws) can be equipped with industrial RFID tags or keyed proximity targets. When the operator installs the hardware, the PLC reads the tag to verify that the physical tooling matches the active recipe selected on the HMI. If the operator installs the wrong size former, the machine refuses to start, preventing costly mechanical collisions and scrap.
You might also like